Submitting a direct-to-garment (DTG) order through your Igniteware portal is simple! Let's walk through the steps.
1. Once within your portal, you will request to "Order now" and select the decoration method DTG.
2. Select a product
By selecting DTG as your decoration method, the catalog will automatically update to show you all DTG approved items.
You also have the option to search a product by either SKU number or name.
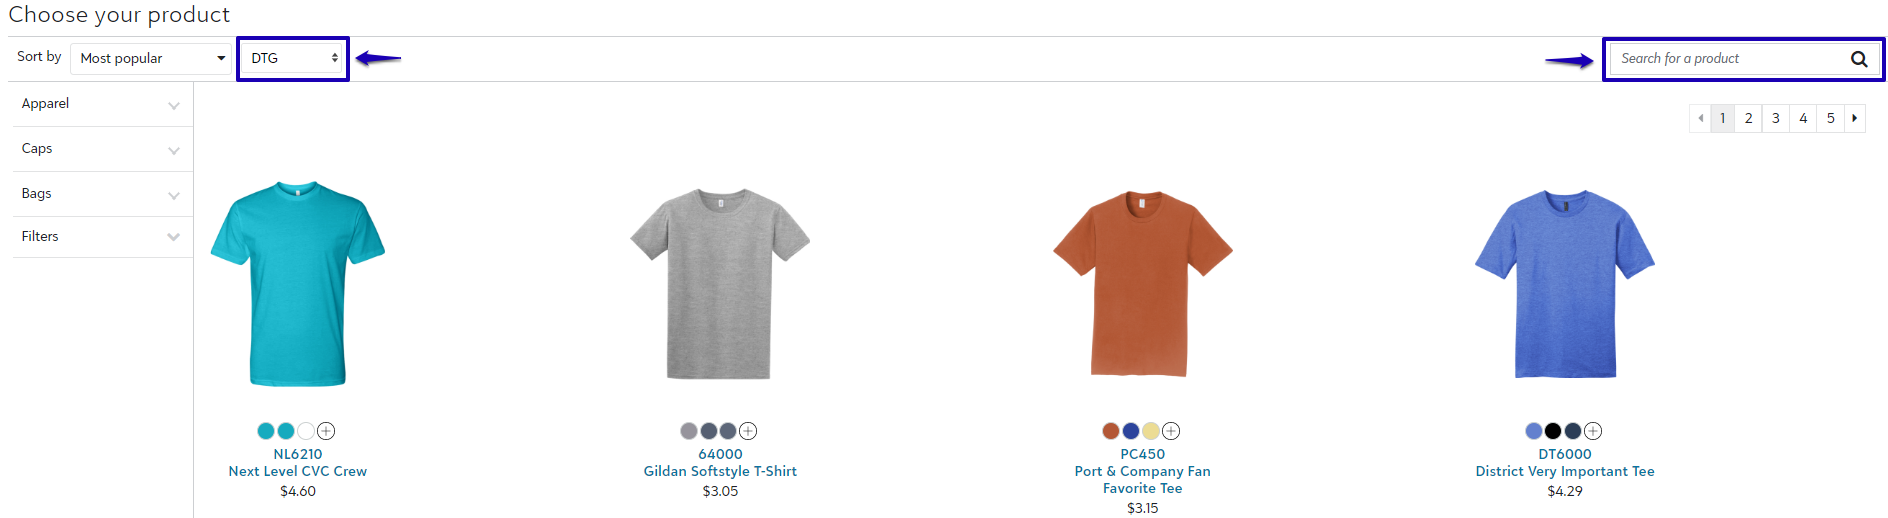
Need help finding a product? Use the filters on the left hand side of your page to filter by garment type, brand, material, and much more!
3. Upload art
When creating a new design, you will first be prompted to name the design. The design is all production details, including the sizing and placement.
After that, you will upload your file and have full control to resize and move around the file as it is shown on the mockup. You also have the option to manually input the sizing.
To add decoration to the back or sleeves, simply change the mockup by selecting the desired location on the right-hand side of your screen.
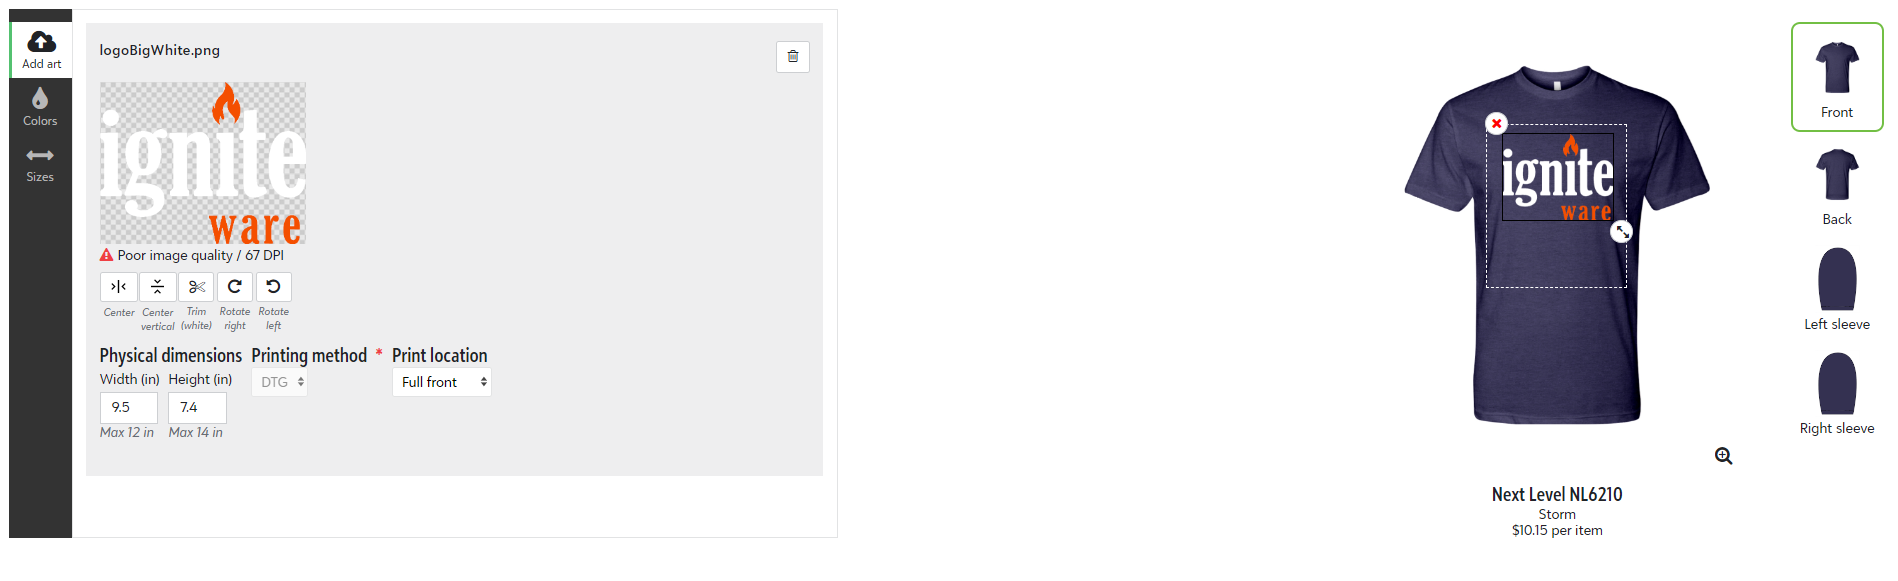
The system will trigger a warning (as seen above) if the resolution of the uploaded file is too low. A lower resolution will impact the quality of the print.
Your file should have transparency for anything that should not be printed. What is reflected on the mockup is what will print.
4. Select garment color and quantities
On the left hand side of your ordering portal, you are able to easily tab between the art, colors, and sizes.
Igniteware pulls stock data LIVE from SanMar, S&S, Alphabroder, and Carolina Made. When a garment has limited or no inventory, a warning message will reflect on the color.
5. Add the item(s) to a cart
Once you have confirmed the art, colors, and sizes of your order - you will "Add to cart" located at the bottom left hand corner of your screen.
Once an item has been added to your cart it will save the design for future use. Then you have the option to continue shipping, which will prompt you back to the catalog to add additional items - or checkout.
6. Checkout
At the checkout page, you will input your shipping address, method as well as payment method and PO reference number (optional). Then "Place order."
Voilà!