If you are just getting started, you might not yet have a Design library built. That is ok! A design contains all the production details.
When starting a new order you will start by building a design.
Step 1: Name the file. This is important for you to easily recall in the future for reorders.
Step 2: Choose existing artwork or upload a new artwork file
Existing files are any files you have uploaded in the past. If you have previously uploaded a logo that was used for a left-chest decoration, but now you need it to span across the entire front, you can recall the file vs reuploading.
Step 3: Input production specifications
For DTG and DTF, once you have uploaded your file, you have full control to resize and move around the file as it is shown on the mockup. You also have the option to manually input the sizing.
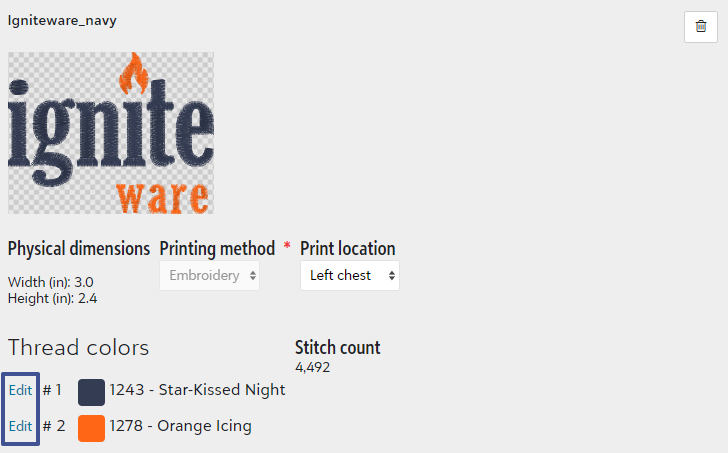
For embroidery, since the sizing is included in the DST file, this is where you will select placement and thread colors.
When building your design, you are able to edit the previously determined thread colors within the artwork under "Thread colors."
Step 4: Select garment color, sizing, and add to cart
It is important you add the design to a cart to save it for future use.
How to recall designs
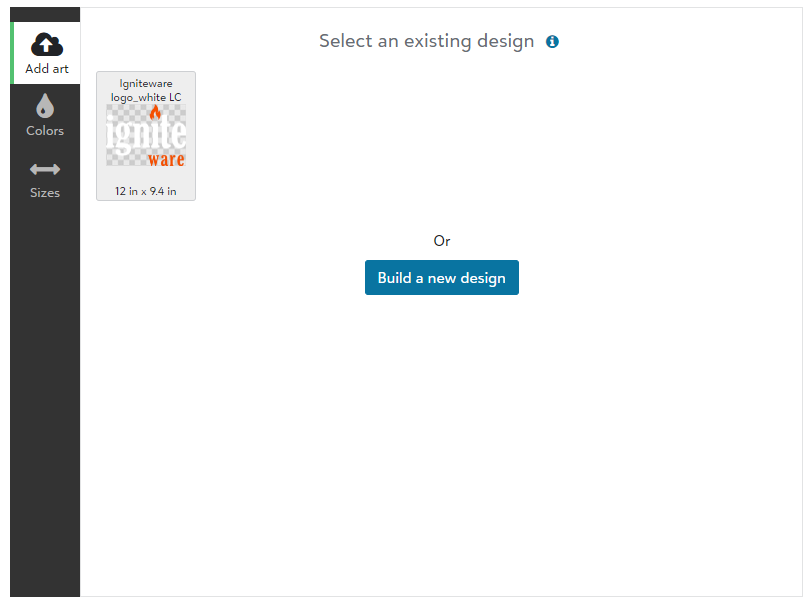
Now that you have a design in your account, you have the option to reuse it. This is a great timesaver for any repeat artwork!
When you start a new order, you will see a smaller visual or your most recent designs to quickly select under "Select an existing design." As you add more designs, a search feature will appear.
Still need help? Reach out to us at info@igniteware.com for further assistance!